Ralph Sutton’s Stereo Imaging Width Guide: Enhance Your Mix with Precision
Discover the secrets to achieving professional stereo width in your mixes. This guide combines expert tips and visuals to help you place instruments effectively and create a balanced, spacious stereo field.
Visual Demonstrations
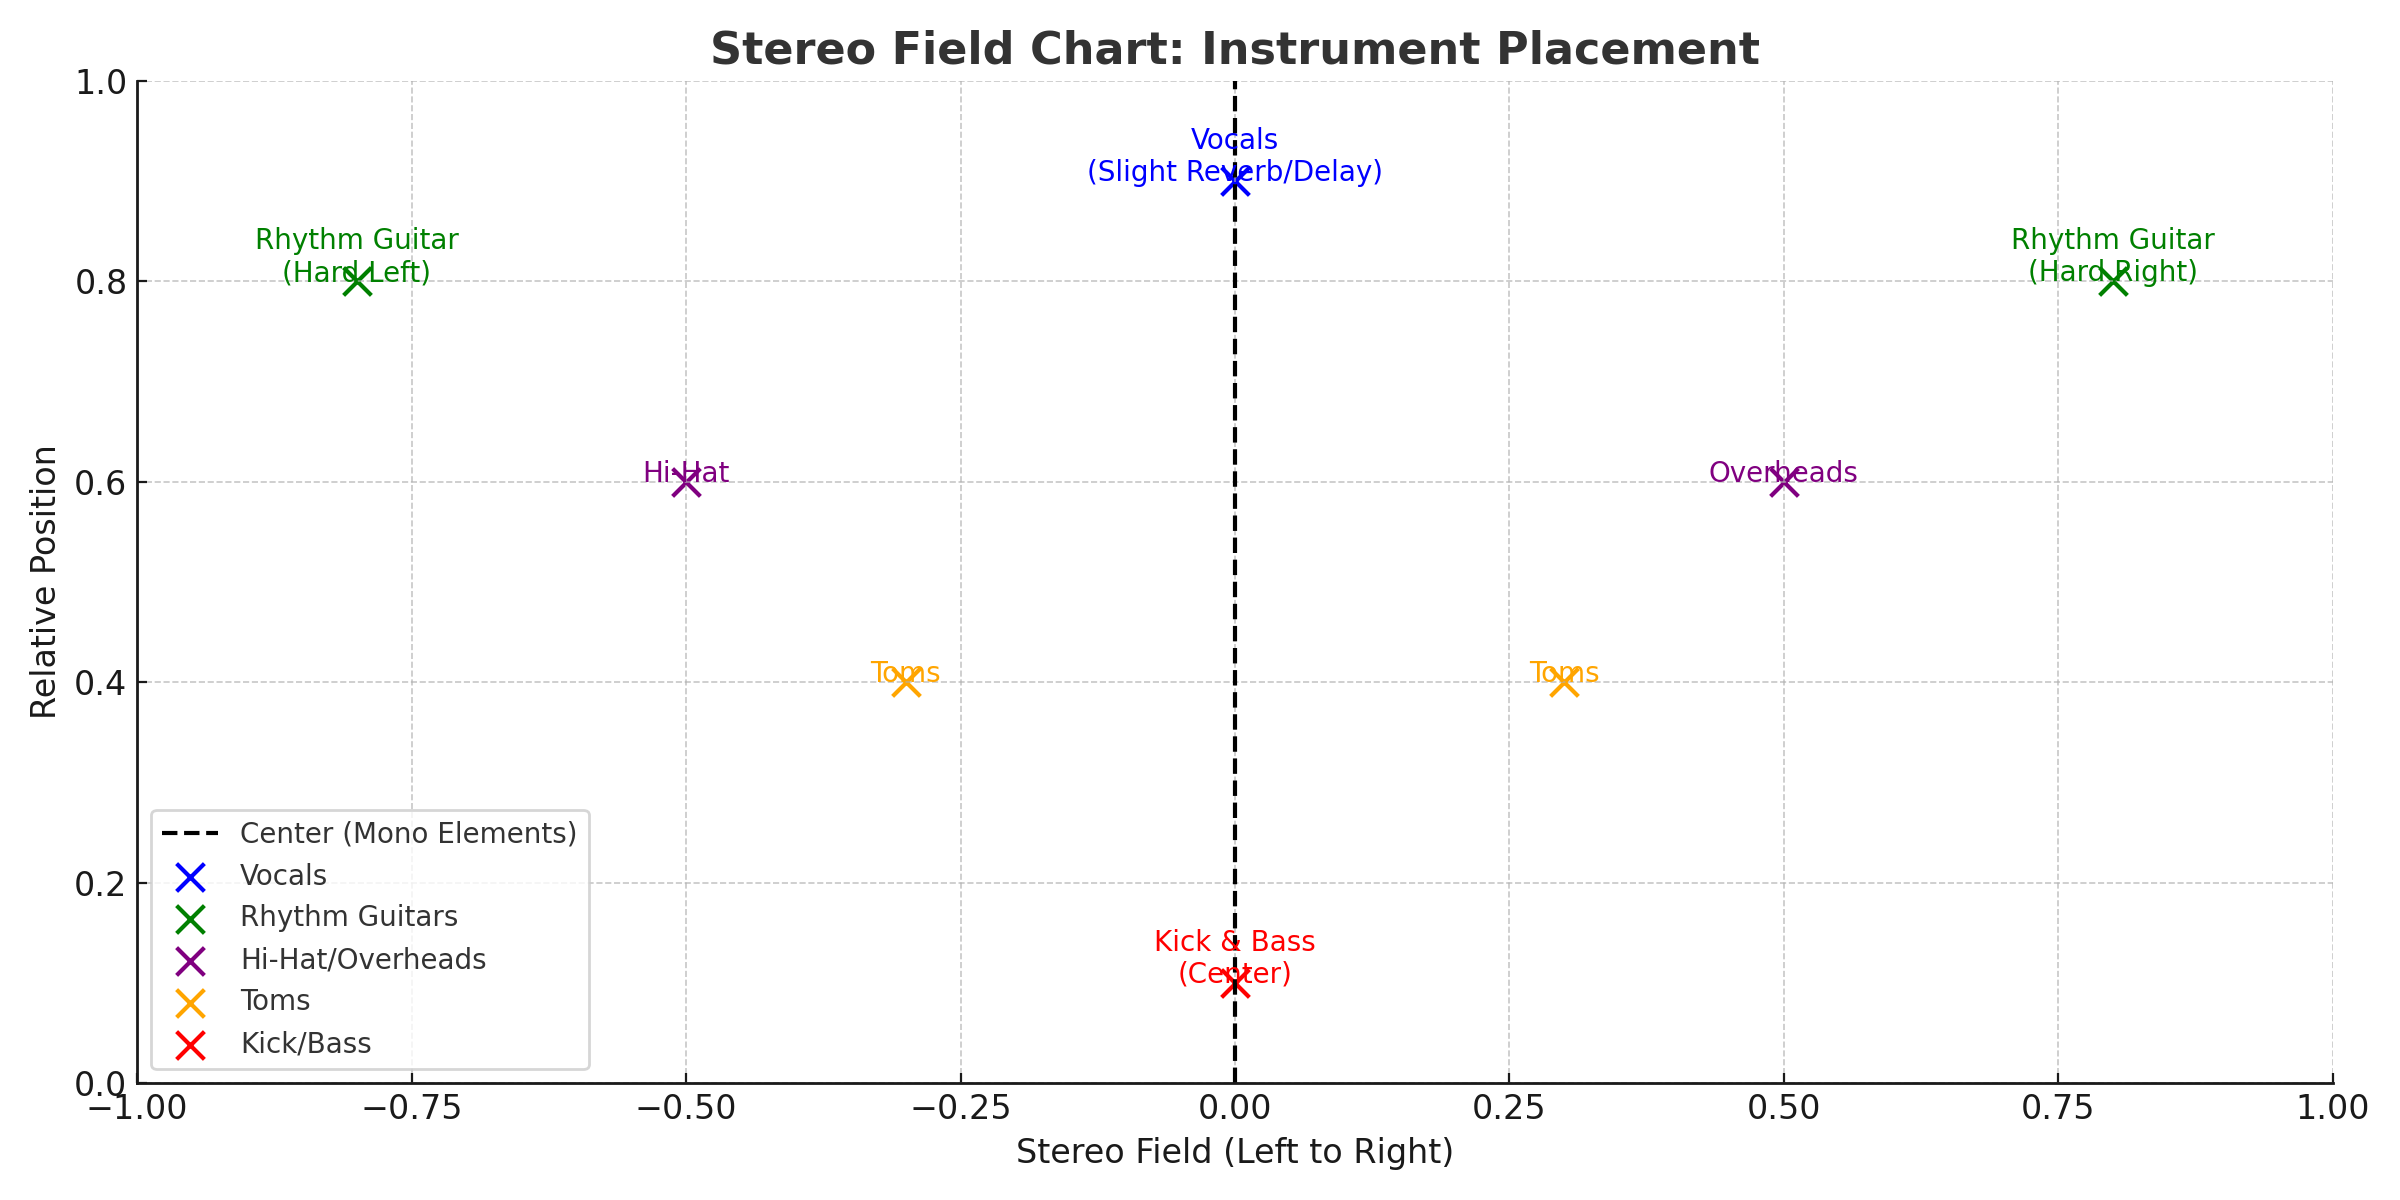
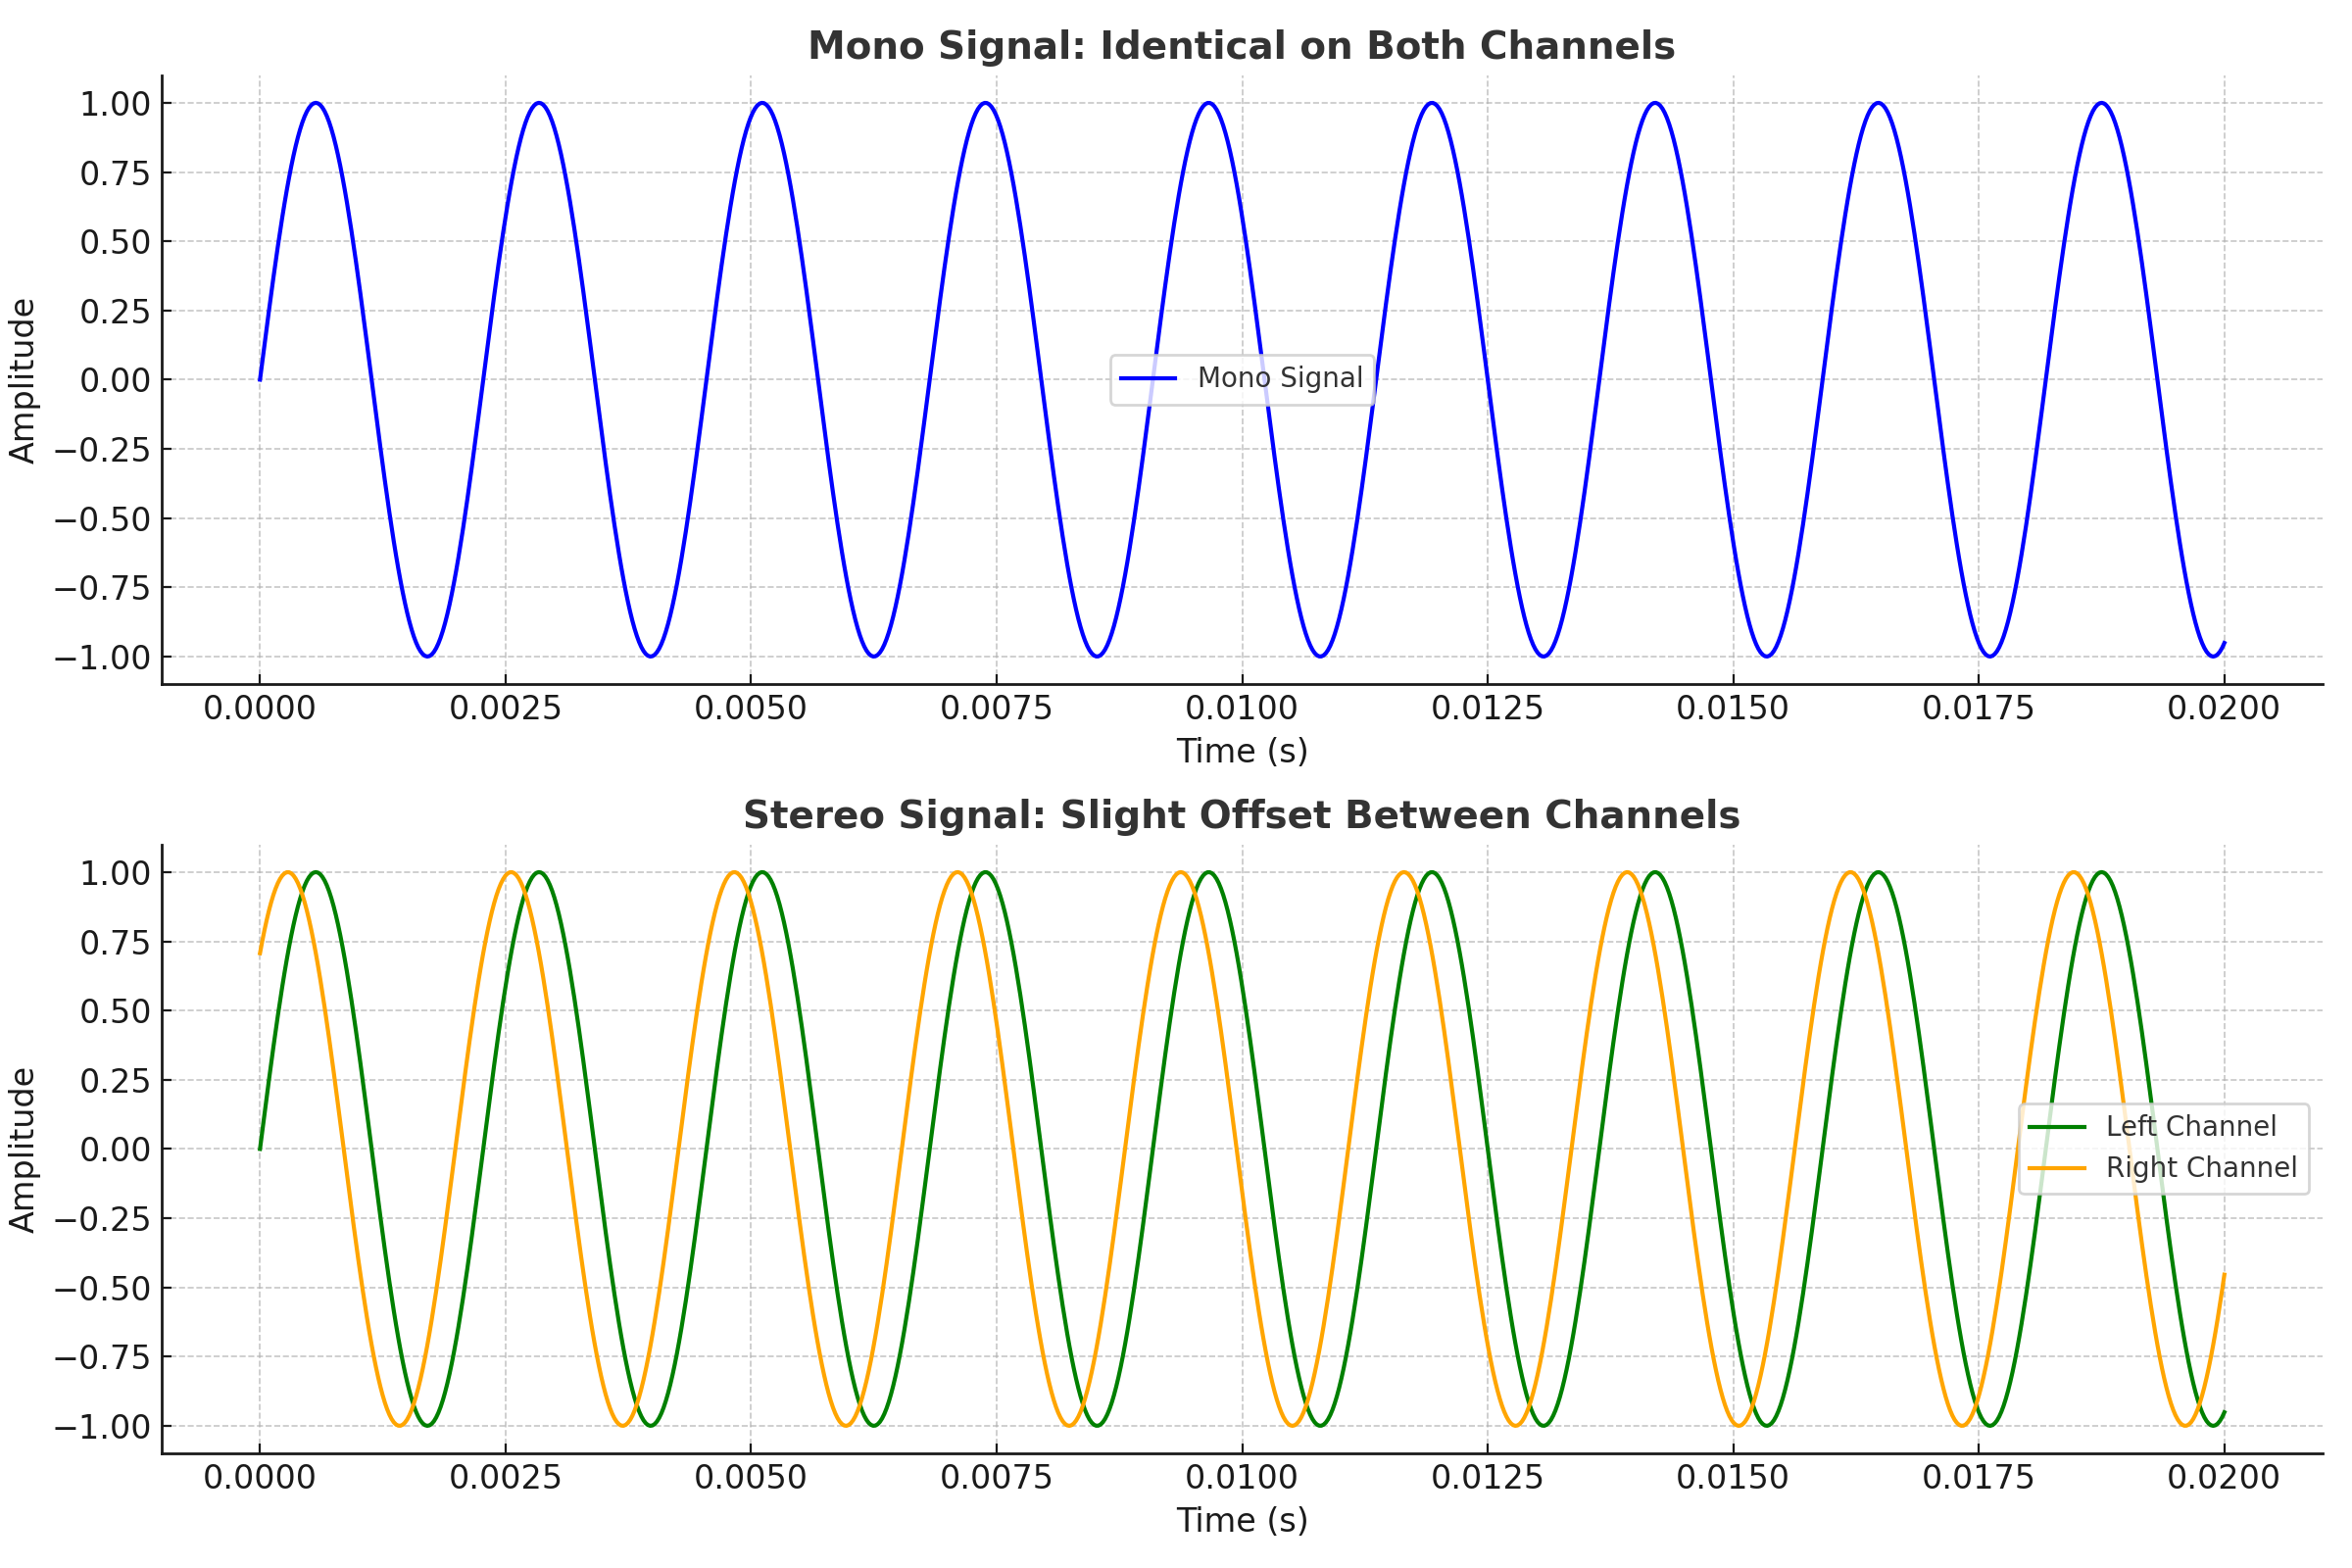
Below are visuals that illustrate proper stereo imaging, including a field chart and waveform representations for mono and stereo signals.

Figure 1: Stereo Field Chart showing common instrument placements for width and balance.

Figure 2: Waveform representation comparing mono and stereo signals to demonstrate the impact of stereo width.
Techniques for Achieving Stereo Width
Panning for Clarity:
Place instruments across the stereo field for balance. For example, pan rhythm guitars hard left and right, keep bass and kick centered, and slightly pan overhead mics.
Stereo Effects:
Use stereo delay, reverb, and chorus to add depth and width. Example: Apply a subtle stereo reverb on vocals for a spacious feel.
Mid/Side (M/S) Processing:
Boost the sides with M/S EQ to enhance width without affecting mono elements. Example: Use M/S EQ to gently boost high frequencies on the sides.
Layering and Doubling:
Double-track instruments and pan them hard left and right for natural width. Add subtle time shifts for more depth.
Tips for Specific Instruments
Vocals:
Keep lead vocals centered and use stereo effects like reverb and delay for width.
Guitars:
Pan rhythm guitars hard left and right; keep solos slightly off-center for focus.
Drums:
Use overheads and room mics to capture natural stereo width. Center kick and snare for focus.
Avoiding Common Mistakes
Over-Panning:
Excessive panning can make the mix feel unbalanced. Keep critical elements (vocals, bass, kick) near the center.
Phase Cancellation:
Always check your mix in mono to ensure elements don’t disappear due to phase issues.
Too Much Stereo Width:
Avoid overusing stereo effects, which can make the mix lose focus.